ID MY COIN BY USING REVERSE MARKERS
This page offers four quick ways to ID the reverse die that struck your coin:
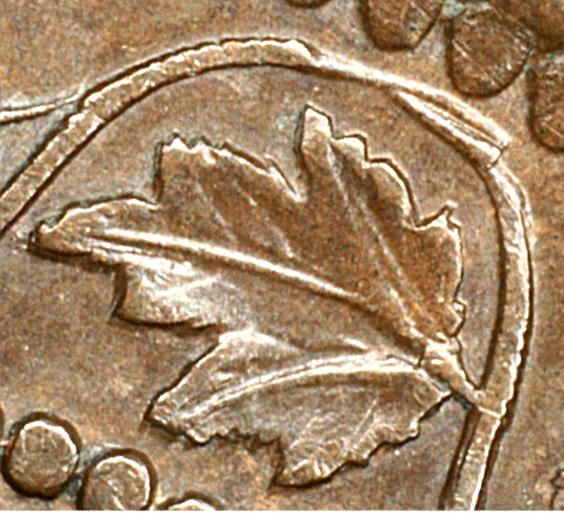
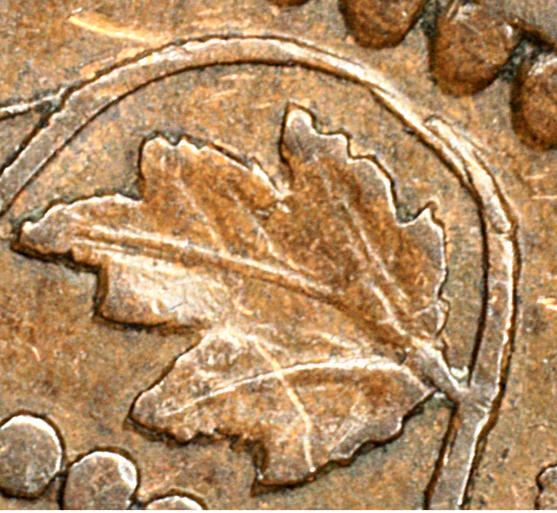
(1) Die Cracks, (2) Repunched Letters or Digits, (3) Leaf Stem 9 repair detail, (4) Loop 2 repair detail (for Reverse Groups J & P).
Many 1859 cents have significant issues in at least one of the above areas. This is one of our personal favorite pages, that we use frequently. For those already familiar with the sorting process the photos below provide a quick means to get to groups of photos showing characteristics of specific dies. For the newer visitors to our catalog needing more guidance, please proceed to the numbered paragraphs at the bottom of this page.
Die Cracks and Repunched Letters

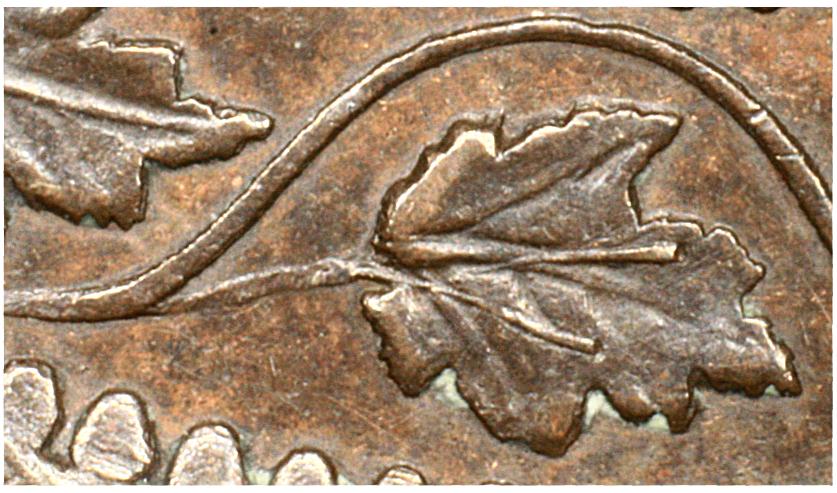
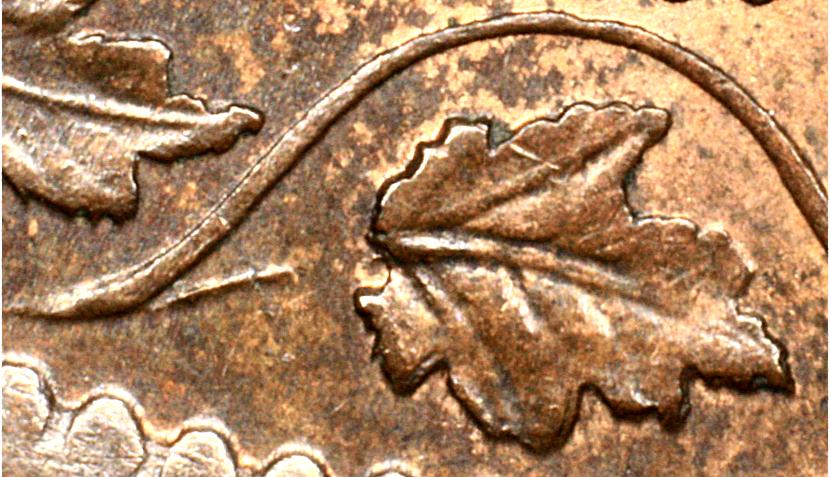
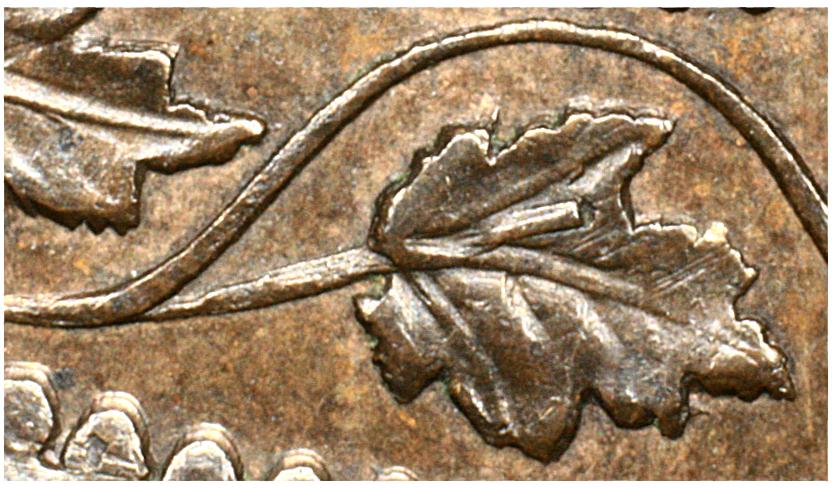
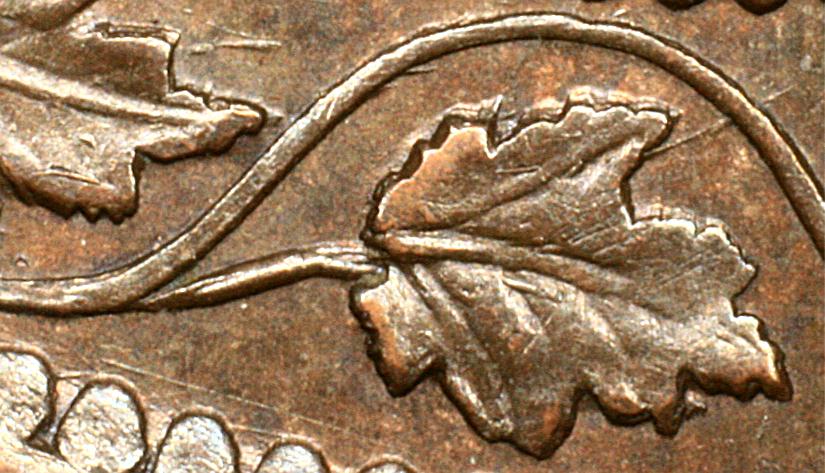
Leaf 9 Details
Loop 2 Details
1. ID Your Coin By Using Die Cracks
Die cracks are one of the easiest ways to ID your reverse. Even cracks forming at what at first seems to be the same place on different dies will show some differences. Early state coins tend to have only small cracks or no die cracks. But, with progressive use small cracks tended to enlarge and new cracks formed. If your coin has an obvious die crack, simply click on the appropriate leaf on the full reverse photo above to see photos of die cracks that might match yours.
2. ID Your Coin By Using Repunched or Unusual Letters
Since each reverse has 11 individual letters and digits, the combination of repunched or unusual letters on each coin is like a "fingerprint" that we can use to identify the die that made that coin. If your coin has repunched or unusual letters, click on the appropriate letter or digit in the full side photo above to see photos of characters that might match yours. Minor repunches are not included.
3. ID Your Coin By Using Leaf 9 Details
The stem to Leaf 9 was already partly missing on the punch when the production of the 1859 narrow 9 dies began. This stem was recut on almost every die, by cutting toward the base of the leaf. Often, the engraver's tool carried up onto the leaf and made one or more raised marks or "slips" on the leaf surface. The detail of the repair of Leaf 9 (stem shape and "slips" onto the leaf) can be very helpful in identifying which reverse die was used to make your coin. After determining the Reverse Group of your coin, click on one of the four Leaf 9 photos above to go to a page where all the Leaf 9 photos for the group(s) are pictured.
4. ID Your Coin By Using Loop 2 Details
The loop opposite Leaf 2 broke on the reverse punch after the last Group F die was sunk, leaving a large gap in the loop. This gap was sometimes left open, but on many of the dies it was repaired by the engraver in each die prior to hardening for use. The detail of the repair of Loop 2 (loop shape and "slips" where the repair joined the original broken loop ends) can be very helpful in identifying which reverse die was used to make your coin. For Groups J & P, the two most common Reverse Groups with a repaired Loop 2, we have included pictorial pages for the Loop 2 repairs. After determining the Reverse Group of your coin, click on one of the two Loop 2 photos above (if your reverse is in the J or P Group) to go to a page where all the Loop 2 photos for the group are pictured.
