SECTION FIVE
REPAIRING MAPLE WREATH DEFECTS ON THE REVERSE
Tools
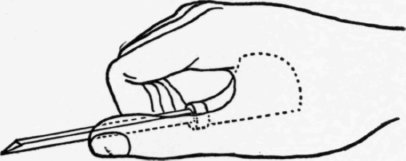
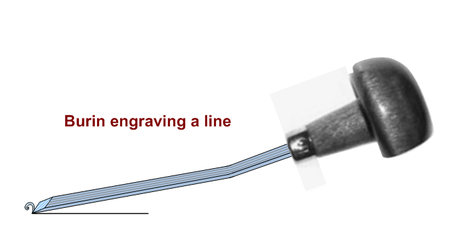
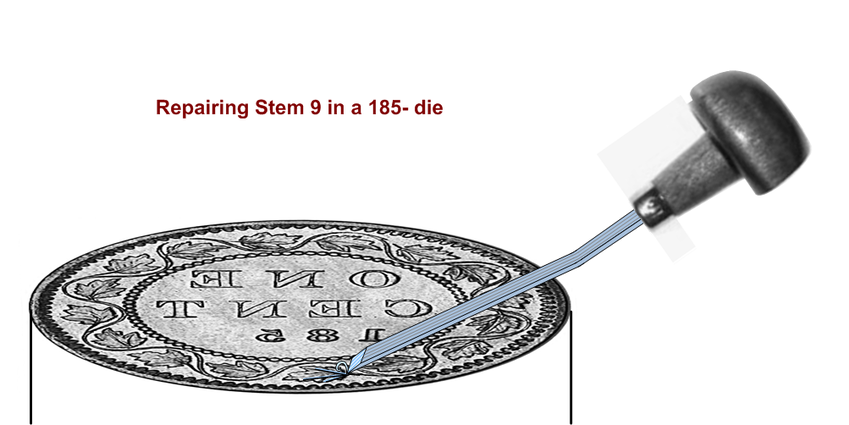
The repair of broken areas of the maple wreath was accomplished by making cuts with a burin, an engraving tool consisting of a straight or curved steel shaft mounted in a wooden handle contoured to fit in the palm of the engraver’s hand.
|
(Diagram courtesy of http://chestofbooks.com/ )
|
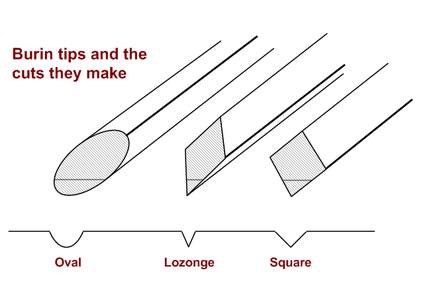
The steel shaft’s face is angled at a backward slant. A burin is used by pushing it forward, its lower portion (point) cutting a thin ribbon of metal from the surface being engraved. The cut could be anywhere from V-bottomed to square-bottomed to round-bottomed, depending on how the point was prepared. The burin in the illustration has V-bottomed (lozenge-shaped) point.
Unlike broken letters or digits, maple wreath defects had a much more inconsistent record of repair. Some defects were almost universally repaired, while others were almost never repaired. We’ll look at each area and describe what occurred on the 1859 Narrow 9 dies.
The Repair of Stem 9
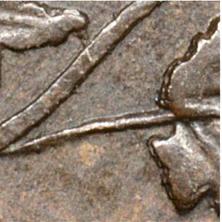
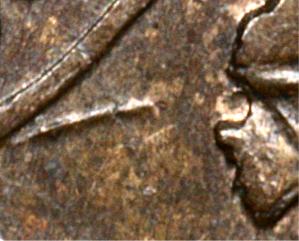
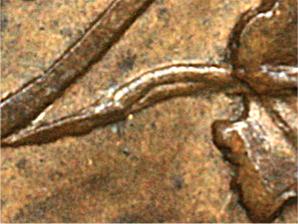
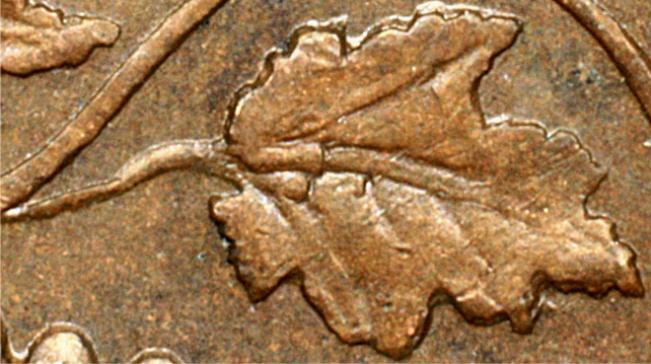
The original Stem 9 (on Punch State 1) in 1858 followed a thin, straight line (very similar to that shown above for one of the 1859 dies), approaching the leaf by crossing through the top edge of a circular notch at the left of the leaf, which we call the bay. As we’ve already seen, the 185- dies were sunk from the punch when it lacked the half of Stem 9 next to the leaf. So, any coin with a complete Stem 9 must be from a repaired die. Stem 9 is the most consistently-repaired wreath flaw on the 1859 Narrow 9 dies. On only a single die was this defect ignored. The details of the re-engraving of Stem 9 merit close attention. They vary enough from die to die that many times the die can be attributed from Stem 9 alone. Note that these repairs occurred in an area only about 1/8 inch across.
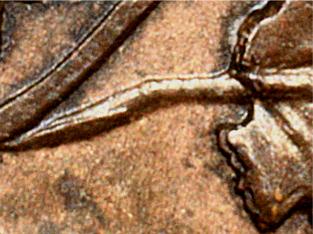
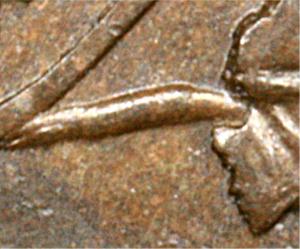
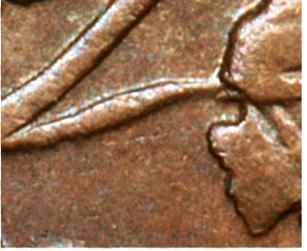
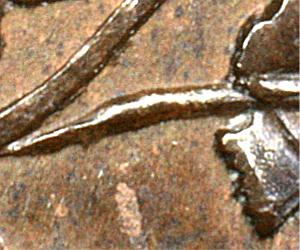
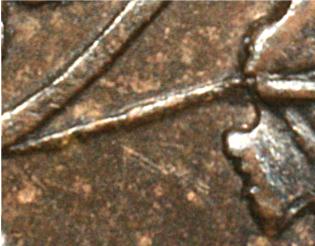
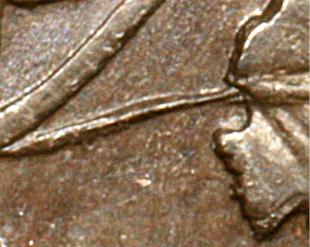
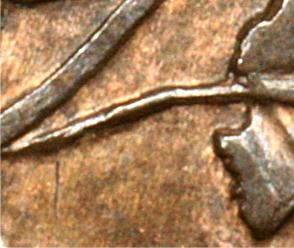
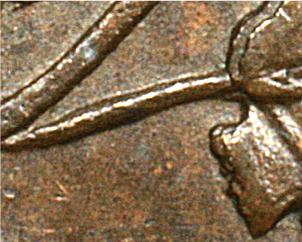
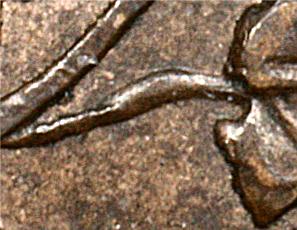
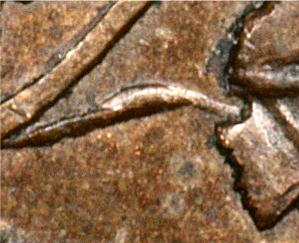
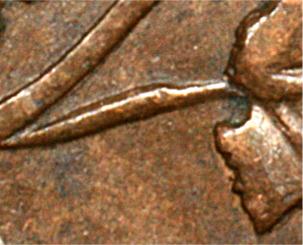
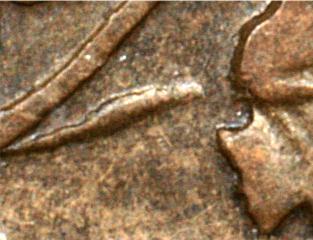
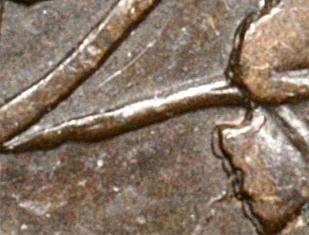
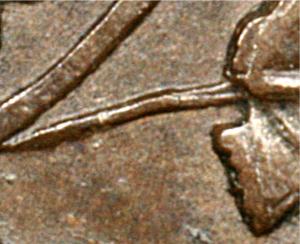
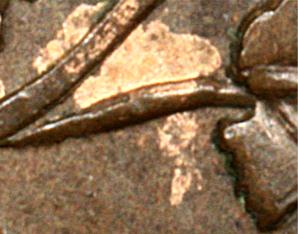
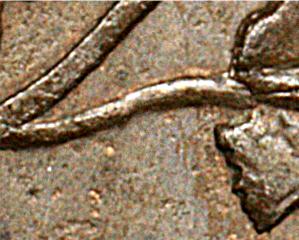
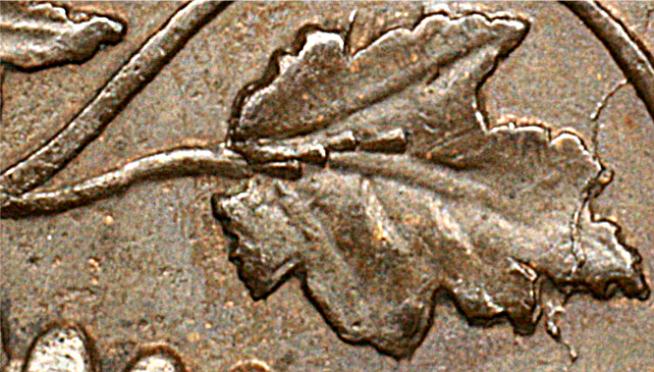
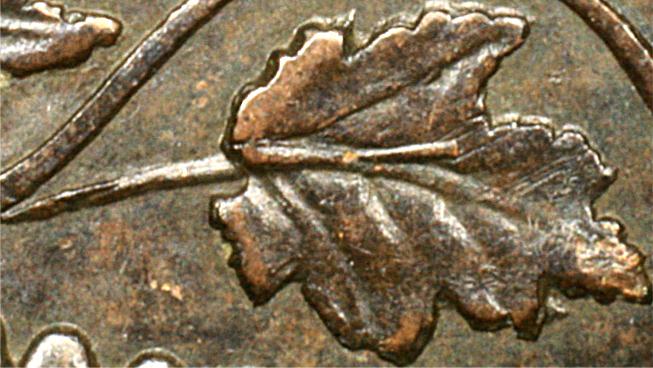
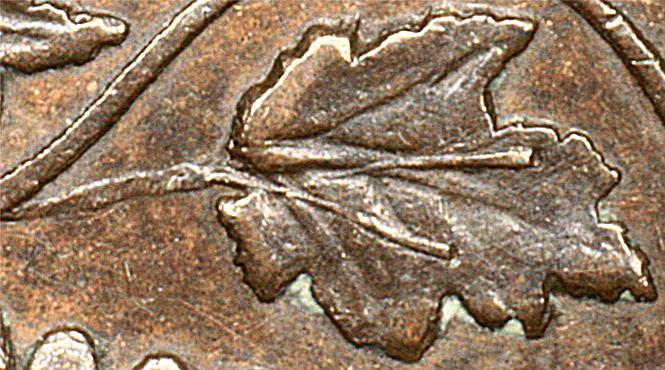
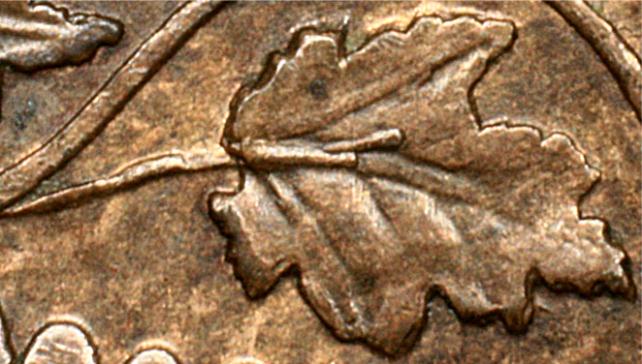
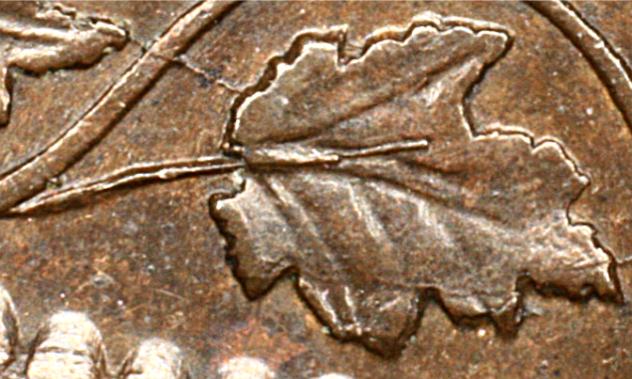
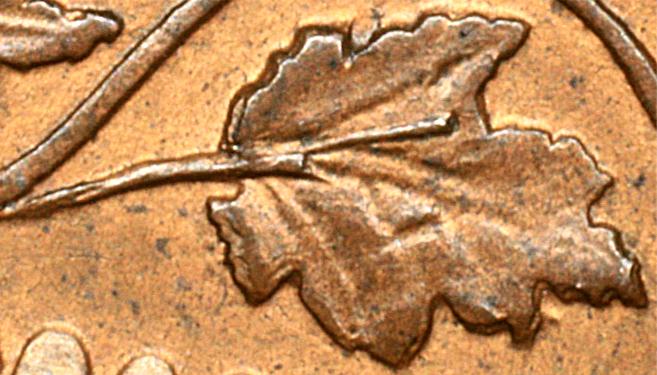
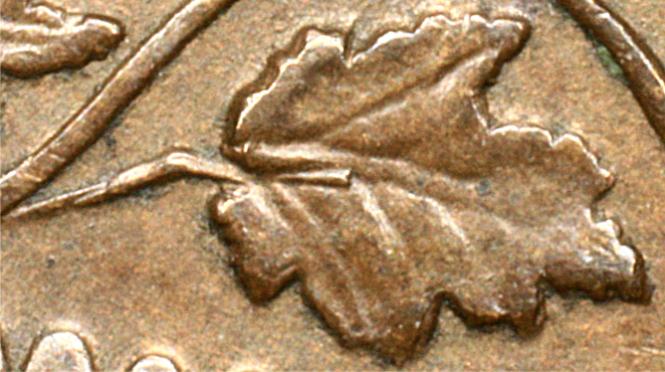
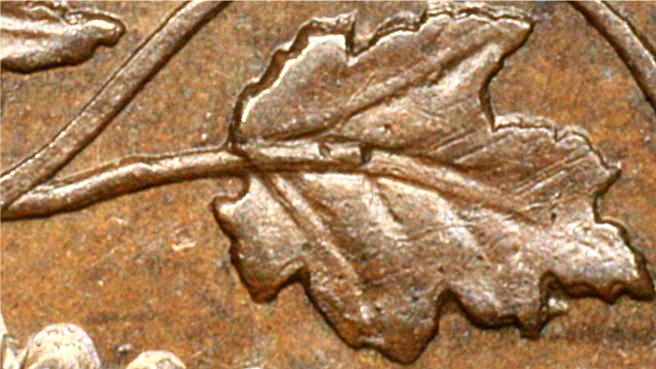
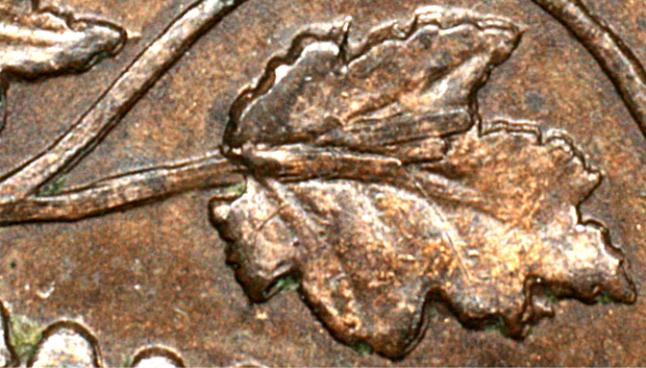
The first characteristic to note in a repaired Stem 9 is the point where the stem recutting begins and how much of the original remaining half stem was obliterated by the recut. The profile of the original stem’s first half is triangular in shape (having come from a V-shaped burin point). The stem was repaired by cutting toward the base of the leaf (not from the leaf toward the broken end), starting anywhere from where the original stem attached to the vine to the end where it was broken. The repairing burin points (several were used over the months the dies were made) tended to be quite different from the fine, V-shaped burin point used for the original stem, so the new stem portion can be readily distinguished from the old. The first series of four photos shows the unrepaired Stem 9, followed by three examples of repaired stems with the repair beginning at the left end of the original stem and obliterating various amounts of the original half.
The second features are the shape and thickness of the new stem, including any doubling from multiple recutting strokes. One sees considerable variation in the shape of the repair cuts.
Stems with center thickening
Stems with doubling
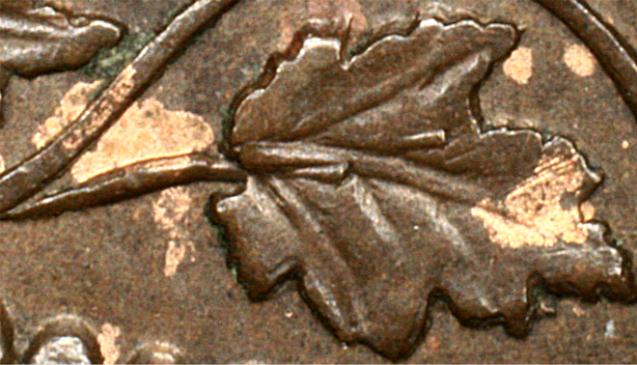
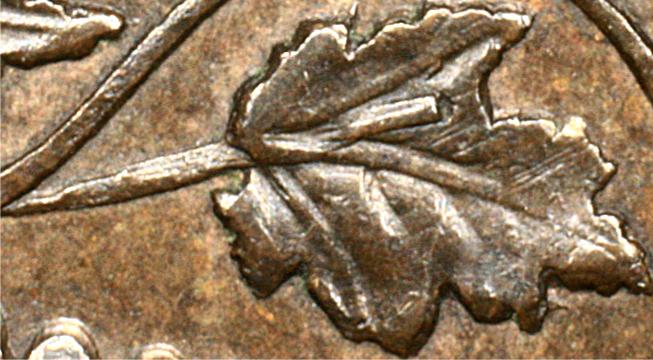
The third feature to consider is the number, size and location of engraving “slips” up onto the leaf. Sometimes in recutting the stem the burin point continued up onto the leaf, gouging it. The consideration of engraving slips on Leaf 9 can be a powerful tool in die differentiation. If we look at the two Stem 9 photos in the group of four photos below, we find little to tell them apart. But, look what we find when we look at the whole leaf: one coin has two engraving slips, while the other has four slips. Now it becomes an easy matter to tell them apart.
The Leaf 9 engraving slips come in various numbers, thicknesses, lengths and locations. The pictorial review below gives some idea of how great the diversity of stems and slips there is to be found. Although the more delicate slips tend to have worn off heavily-circulated coins, the pattern and number of slips can be powerful diagnostic points when present.
